Animation tutorials |Moho/anime studio| Lesson 101: 120
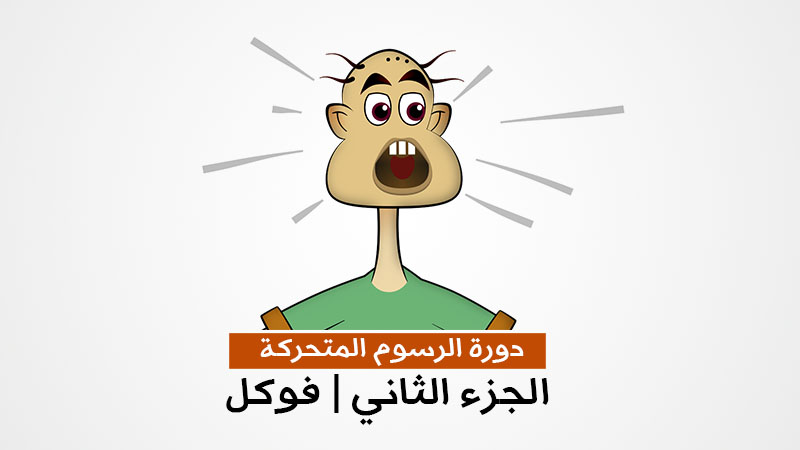
In these animation tutorials, we will show how to draw, build and animate a cartoon character and the design of the scenes to produce a short film. This workshop includes the steps of painting the cartoon character, coloring and building the bones in them and controlling their actions. And ends with an explanation of how the viewer designed to produce a short film called “Fockle and the Bee”.
Moho/Anime studio animation course 1:10
Animation tutorials |Moho/anime studio| Lesson 101: 120
Animation tutorials |Moho/anime studio| Lesson 121: 130
Click here to read the article in Arabic
Animation tutorials
Moho/anime studio| Lesson 101: 120
Animation tutorials(1) Introduction to drawing and building character | Animation tutorials
Drawing and building a cartoon character takes place in several steps, beginning with planning and characterizing personal traits, and then starting drawing and coloring the character.
This is followed by the stage of building and blinding bones, then designing Constraint and establishing the bones of the smart bones, and then the stage of the design actions that include a walk cycle and running cycle and famous expressions.
(2) The initial drawing of the character| Animation tutorials
This lesson from the Moho animation course deals with drawing the character outline, a simple sketch that outlines the initial lines of the character.
(3) coloring strokes and fill|Animation tutorials
In this animation lesson we will fill in the interior spaces and adjust the border sizes.
(4) Eyes and mouth Details|Animation tutorials
In the Moho animation there are several ways to draw the eye and mouth. Several shapes can be designed and then switched using the switch. They can be drawn using masks and then moved with bones and smart bones. This lesson from Fokel explains how to design the eye and mouth using the mask.
(5) Forms of hand| Animation tutorials
The simple way to draw palm forms is to draw each shape on a separate layer and then to switch between them using the switch layer, the second method is done using smart bones, and in this lesson is based on the simple way of using the switching layer switch.
(6) Create and rig bones| Animation tutorials
This lesson is the first stage of the construction of cartoon character, in which the bone is created and the relationship between these bones to form the correct structure of the movement.
This lesson in Fockel’s character depends on connecting the bones to the points and connecting the layers
(7) bones constraints| Animation tutorials
Constraint is an important step to improve bone performance and prevent deformities, constraints include multiple types, but this lesson focuses on restricting the angle of the bone.
(8) smart bones for eyes| Animation tutorials
(9) smart bones for mouth| Animation tutorials
This lesson explains how to design most mouth movements using a number of smart bones.
(10) target bones and squash and stretch| Animation tutorials
This lesson complements some of the bone constraints, including the target, which control the movement and fixation of bones, which is usually done to control the movement and stability of the feet and sometimes hands, and also limitations of the work of the extension of the bones ik stretching and determine the value of the maximum expansion, Activating the stretch and stretch scaling feature of some bones, which is one of the basics of cartoon animation.
(11) head turn| Animation tutorials
This lesson from the Moho course presents an innovative creative idea to rotate the face horizontally and vertically with one bone, by creating a network of bones, some smart bones for horizontal and vertical rotation.
The bone structure contains some target bone bones to control the rotation process and then to create a master bone that controls the movement of the network.
(12) back Character| Animation tutorials
In this animation lesson, we learn how to design a Fokal character from the back depending on a copy of the previous character.
(13) side character| Animation tutorials
(14) walk cycle action (front)| Animation tutorials
As of this lesson in the animation course, examples of action will be explained to store a few segments of motion for repetitive use during the design of the cartoon movie scenes, and the action in this lesson is a shape design for the Fockel walk cycle.
(15) walk cycle action (side)| Animation tutorials
In this lesson of the Animation Course (Part 2) in the Moho program, we design a walking cycle in the lateral direction.
(16) run cycle (side)| Animation tutorials
In this lesson from the Moho animation course, we design a side run cycle, and the running cycle is different from the walking cycle where the speed is greater and the body climbs to the top of the earth and tends more.
(17) Expression of laughter| Animation tutorials
This lesson from the Moho course explains the action of expressing laughter in various forms, a preferred way to store expressions in actions, to maintain common personality traits during repetition.
(18) Anger expression| Animation tutorials
In this lesson from the Moho 12 animation course we present 4 models for expressing anger, expressing anger as all forms of body language have multiple models and different levels of anger, and the most prominent features of the expression of anger appear in the rotation of the eyebrows to the inside and down the sides Mouth down.
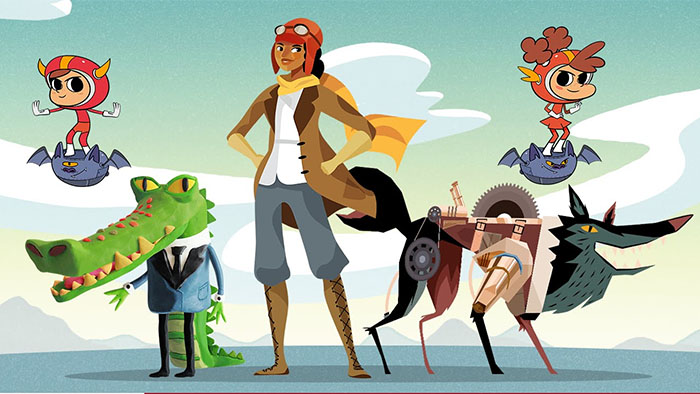
(19) the film project |The first and second scene| Animation tutorials
This lesson and the next lesson, the conclusion of this collection, explains a workshop to produce a short cartoon film of Fokl’s character with the bee. The Moho library was used in designing the supporting backgrounds and supports. The film consists of 4 scenes.
(20) The film project | Scene III, IV| Animation tutorials
Watch the final version of the film “Fokle and the Bee”, a model of a training film produced by the Fockel workshop, which was explained in the previous 20 lessons. It is a simple experimental model that helps trainees to produce a film in simple and easy steps.
Animation tutorials, Animation, Moho, anime studio, how to draw, animate, short film, workshop, cartoon character, character, actions,

thanks for tutrials about fokal characher
fin animation charchtet